Proxmox Wireguard VPN tunnel
2022-10-19
Wireguard
WireGuard® is an extremely simple yet fast and modern VPN that utilizes state-of-the-art cryptography. It aims to be faster, simpler, leaner, and more useful than IPsec, while avoiding the massive headache. It intends to be considerably more performant than OpenVPN. WireGuard is designed as a general purpose VPN for running on embedded interfaces and super computers alike, fit for many different circumstances. Initially released for the Linux kernel, it is now cross-platform (Windows, macOS, BSD, iOS, Android) and widely deployable. It is currently under heavy development, but already it might be regarded as the most secure, easiest to use, and simplest VPN solution in the industry.
- https://www.wireguard.com/
Proxmox
Proxmox VE is a complete open-source platform for enterprise virtualisation. With the built-in web interface you can easily manage VMs and containers, software-defined storage and networking, high-availability clustering, and multiple out-of-the-box tools on a single solution.
- https://www.proxmox.com/en/
Instructions
There are many ways to install Wireguard using Proxmox. A while ago I installed headers on the Proxmox host and create a LXC container specifically for Wireguard but this setup was proving to be unreliable, I decided to look for other solutions. I ended up using PiVPN inside a VM, let me show you how I did it.
Creating a VM
I chose to use the Debian Linux distribution as I have some experience using it, you can find the ISO files here.

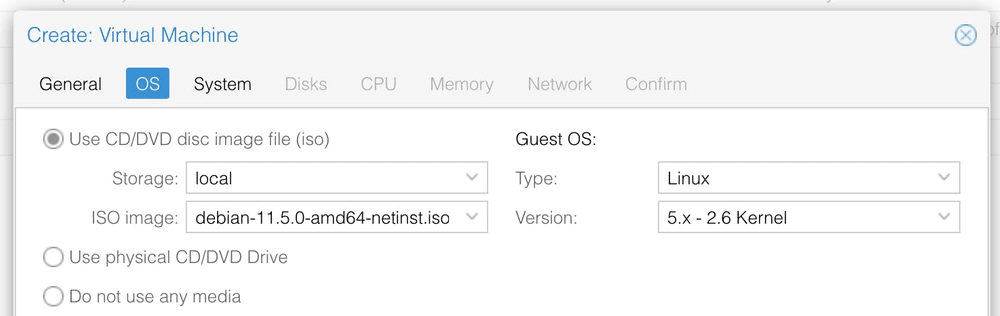
I am not going into full detail, you can find these instructions here.
Installing Wireguard
The simplest way to setup and manage a VPN, designed for Raspberry Pi™.
- https://www.pivpn.io/
PiVPN was originally created for Rasberry Pi but supports many systems nowadays.
PiVPN may be able run and install VPN Protocols on any other Debian or Ubuntu based distributions however we do not provide support for them.
- https://docs.pivpn.io/faq/
1 2 3 4apt update apt upgrade apt install curl curl -L https://install.pivpn.io | bash
1 2 3 4 5 6 7 8 9 10-a, add Create a client conf profile" -c, clients List any connected clients to the server" -d, debug Start a debugging session if having trouble" -l, list List all clients" -qr, qrcode Show the qrcode of a client for use with the mobile app" -r, remove Remove a client" -h, help Show this help dialog" -u, uninstall Uninstall pivpn from your system!" -up, update Updates PiVPN Scripts" -bk, backup Backup VPN configs and user profiles"
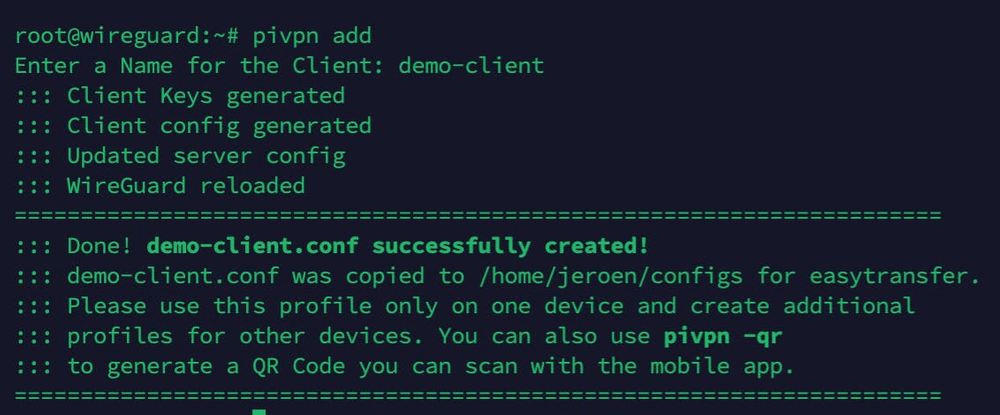
Adding a new client
PiVPN makes the creation of new clients very easy, just run the pivpn add command and follow the wizard.

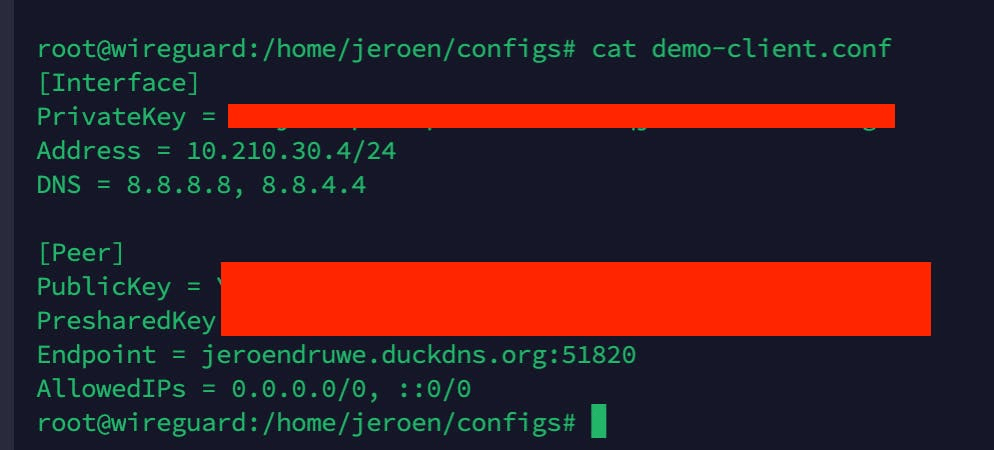
PiVPN creates a config files under the user directory.

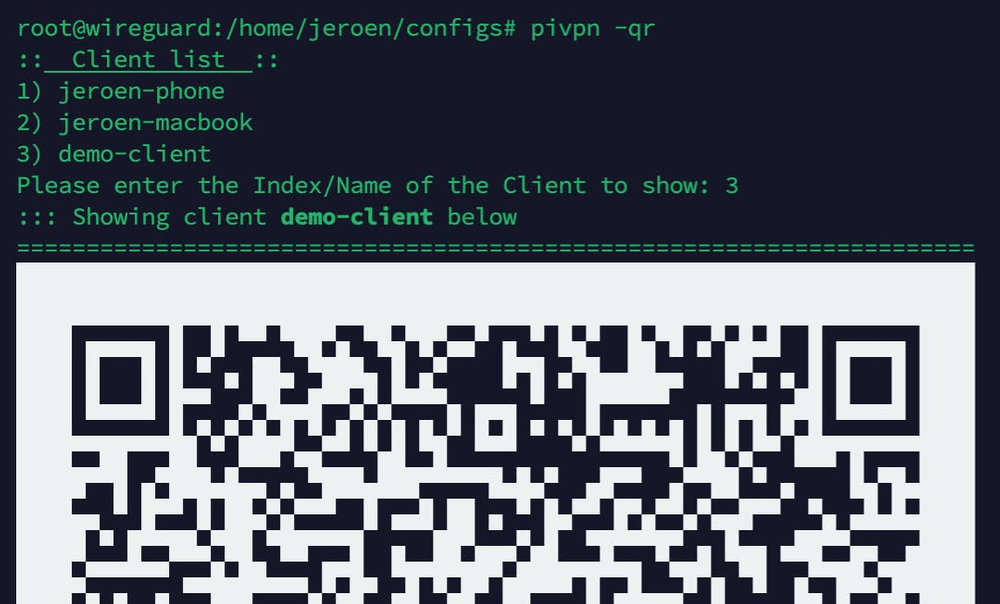
You can also use the pivpn -qr command to generate a QR code for your client config which makes it very easy to add the VPN tunnel on mobile devices.

I hope these instructions are helpful. Do not hesitate to contact me or leave a comment below.